Install
ArchiveBox is primarily distributed as a Python package installed with uv, but it also depends on some system packages that can be installed manually or automatically with Docker. It usually takes less than ~10min to get ArchiveBox set up and running.
Install Instructions
Supported Systems


CPU Architectures: amd64 (x86_64), arm64 (aarch64)
(Including 64-bit Intel/AMD and Apple Silicon Macs)
Memory: 1GB RAM minimum; 2GB+ is recommended. On a 1GB VPS, configure at least 4GB of swap before running full default crawls.
macOS: >=13 on Intel or Apple Silicon (with
uvor Homebrew)Ubuntu: on
amd64orarm64(withapt,uv, or Homebrew)Docker: on
amd64orarm64Linux/macOS
Other operating systems are not tested or supported for this release.
You can reduce crawl-time memory pressure by disabling all Chrome-based archiving methods with CHROME_ENABLED=False (or its USE_CHROME alias).
It’s also recommended to use a filesystem with compression and/or deduplication (e.g. ZFS or BTRFS) for maximum efficiency.
Option A. Docker / Docker Compose Setup ⭐️
Docker Compose is the recommended way to get ArchiveBox, as it includes all the extras out-of-the-box and provides the best security and upgrade UX.
If you don’t already have Docker installed, follow the official instructions for Linux or macOS: https://docs.docker.com/install/#supported-platforms ➡️
Then follow the Quickstart guide and read the [[Docker]] wiki page for next steps. ➡️
You can also run Dockerized ArchiveBox using UNRAID/TrueNAS/Proxmox/etc. or Kubernetes.
More info:
ArchiveBox Docker Quickstart + Usage + Configuration + Upgrading documentation
Option B. uv Install Shortcut
On macOS, Linux, or BSD, get.archivebox.io is a shortcut for the uv install method.
(or scroll further down for manual install instructions)
curl -fsSL 'https://get.archivebox.io' | bash
# shortcut to run https://raw.githubusercontent.com/ArchiveBox/ArchiveBox/dev/bin/setup.sh
The script installs uv when needed, then runs the same uv tool install command documented below. It does not initialize a collection, install runtime dependencies, or start a server; continue with the Quickstart after it finishes.
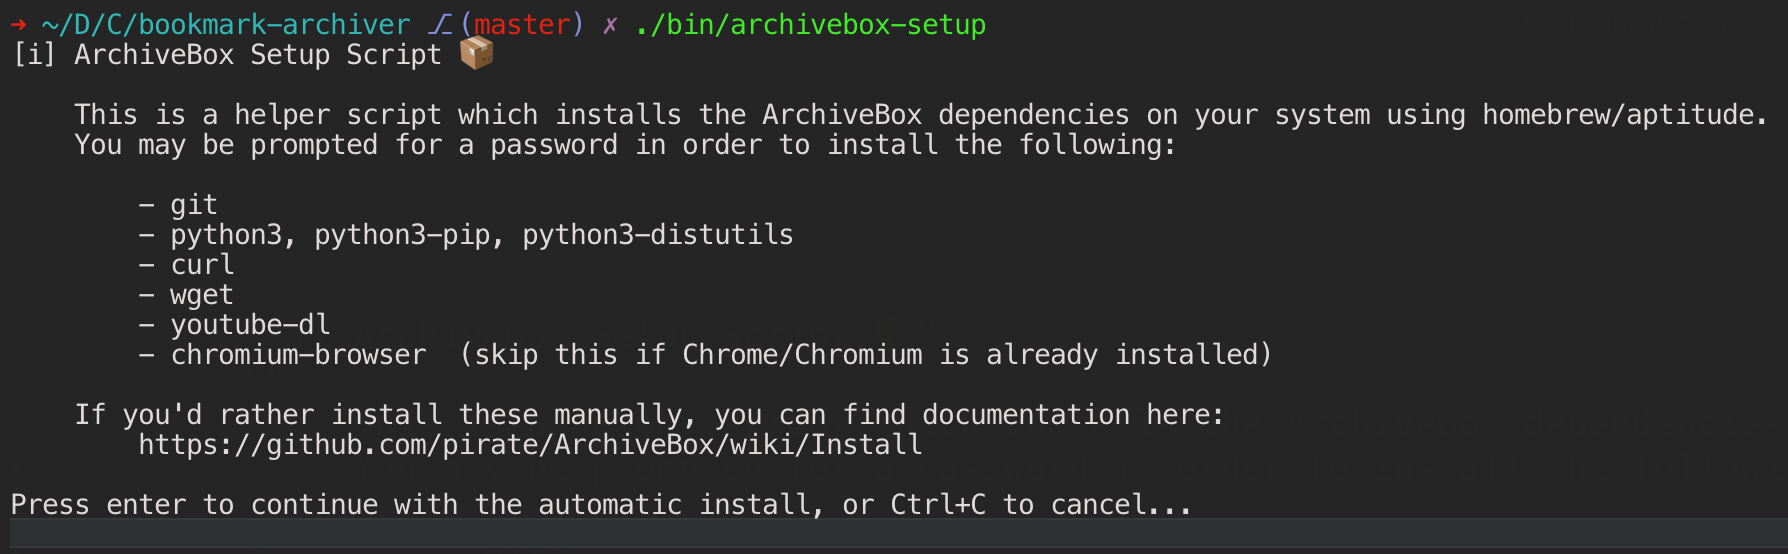
After running the setup script, continue with the Quickstart guide… ➡️
See here for our thoughts on the inherent limitations of
curl | shas an install method…
Option C. Bare Metal Setup
If you’d rather not use Docker or our uv install shortcut, you can follow these manual setup instructions to install ArchiveBox and its dependencies using uv, apt, or Homebrew.
See our Dependencies documentation to see the full list of dependencies and how they’re used. Not all the dependencies are required for all modes. If you disable some archive methods you can skip installing those dependencies — for example, if you set MEDIA_ENABLED=False you don’t need to install yt-dlp, and if you set PDF_ENABLED=False, SCREENSHOT_ENABLED=False, and DOM_ENABLED=False you don’t need chromium.

More info:
For help installing these, see the Manual Setup, [[Troubleshooting]] and [[Chromium Install]] pages.
For per-plugin binary and enable/disable options (CHROME_BINARY, RIPGREP_BINARY,
<plugin>_ENABLED, etc.) see the abx-plugins config reference.
1. Install uv or the ArchiveBox OS package
ArchiveBox itself is the only tool you need to bootstrap manually. After that, archivebox install resolves every runtime dependency through abxpkg, preferring compatible host binaries and installing managed ones only when needed.
macOS
Make sure you have Homebrew installed first.
# install ArchiveBox directly with Homebrew
brew tap archivebox/archivebox
brew trust archivebox/archivebox
brew install archivebox
Or use Homebrew to install uv, then install ArchiveBox with uv:
brew install uv
uv tool install --python 3.13 --prerelease explicit --upgrade 'archivebox>=0.9.0rc0,<0.10'
Ubuntu/Debian-based Systems
Use the third-party ArchiveBox apt repo for the simplest bare-metal install:
echo 'deb [trusted=yes] https://archivebox.github.io/debian-archivebox dev main' | sudo tee /etc/apt/sources.list.d/archivebox.list
sudo apt update
sudo apt install archivebox

mkdir -p ~/archivebox/data
cd ~/archivebox/data
archivebox init
sudo archivebox install
archivebox add 'https://example.com'
The apt package is a thin dev-channel wrapper around the normal Python install
flow. Runtime extractor
dependencies such as Chromium, yt-dlp, SingleFile, and other plugin-managed
tools are installed by sudo archivebox install, which uses apt for missing
system dependencies while preserving ownership of the user-owned collection.
Alternatively, install with uv:
curl -LsSf https://astral.sh/uv/install.sh | sh
source "$HOME/.local/bin/env"
uv tool install --python 3.13 --prerelease explicit --upgrade 'archivebox>=0.9.0rc0,<0.10'
Or install with Homebrew on Linux. Run Homebrew as your normal non-root user; Homebrew does not support sudo brew or root installs.
brew tap archivebox/archivebox
brew trust archivebox/archivebox
brew install archivebox
2. Install ArchiveBox using uv
If you are not using the apt or Homebrew packages above, install ArchiveBox with uv.
# get the dev version of ArchiveBox
uv tool install --python 3.13 --prerelease explicit --upgrade 'archivebox>=0.9.0rc0,<0.10'

# if the optional ldap extra must compile locally on Debian/Ubuntu, install its headers and retry
# sudo apt install build-essential libldap2-dev libsasl2-dev
3. Install runtime dependencies using archivebox install
Finish installing runtime dependencies for the enabled ArchiveBox plugins.
# create a new empty folder anywhere to hold your collection, and cd into it
mkdir -p ~/archivebox/data && cd ~/archivebox/data

# instantiate the directory as an archivebox collection dir
archivebox init

# auto-install runtime dependencies such as Chromium, yt-dlp, SingleFile, etc.
archivebox install

# archive a first URL
archivebox add 'https://example.com'

# ✅ see a final detailed breakdown of all the installed dependencies and commands available
archivebox version
archivebox help
Troubleshooting
For uv installs, make sure the uv-installed version of archivebox is available in your $PATH.
uv tool list             # show info about uv-installed tools

echo $PATH               # show the directories your system is searching for binaries
type -a archivebox       # show all installed archivebox binaries available

cd ~/archivebox/data
archivebox version       # ⭐️ show lots of useful info about installed dependencies and more
archivebox status
archivebox help
(ensure the version shown is the most recent available from Releases)
ArchiveBox can be launched as root by setup and package-manager flows; it creates or selects the archivebox service account and drops privileges before writing collection data. Run collection commands such as init, install, add, and status inside the data directory. Informational commands such as version and help can run anywhere.
If you have issues getting Chromium / Google Chrome or other dependencies working with ArchiveBox, see the [[Chromium Install]] and [[Troubleshooting]] pages for more detailed instructions.
Next Steps: Add some URLs to archive and try out CLI / Web UI
For guides on how to import URLs from different sources into ArchiveBox, check out Input Formats and Preparing URLs. ➡️
cd ~/archivebox/data
# feed in your URLs to start archiving!
archivebox add --help
archivebox add < ~/Downloads/bookmarks_export.html
# inspect the newly added Snapshots via the CLI
archivebox list
archivebox status
# OR start the webserver and view them in the Web UI
archivebox server 0.0.0.0:8000
# Visit http://admin.archivebox.localhost:8000/admin/ in a browser to finish setup
See our [[Usage]] Wiki documentation page for more examples.
Next Steps: Upgrading Archivebox to a new version
Stop any running ArchiveBox processes and back up the entire collection first. Upgrade ArchiveBox with the same package manager you originally used; archivebox install will then re-resolve compatible host binaries and update any managed runtime dependencies.
# back up the full collection before upgrading
cd ~/archivebox
tar -czf "archivebox-data-$(date +%s).tar.gz" data/

# get the dev version of ArchiveBox
uv tool install --python 3.13 --prerelease explicit --upgrade 'archivebox>=0.9.0rc0,<0.10'
# or: sudo apt update && sudo apt install --only-upgrade archivebox
# or: brew update && brew upgrade archivebox

# run init inside any data directories to migrate the index to the latest version
cd ~/archivebox/data
archivebox init          # update collection index & apply any migrations
archivebox install       # update runtime dependencies to latest versions
archivebox update --migrate-only  # migrate/reconcile Snapshot files and metadata
archivebox status        # check collection health after the upgrade
Check our more detailed Upgrading documentation and Release Notes if you run into any problems. ➡️
Further Reading
Read [[Usage]] to learn how to use the ArchiveBox CLI and HTML output
Read [[Configuration]] to learn about the various archive method options
Read [[Scheduled Archiving]] to learn how to set up automatic daily archiving
Read [[Publishing Your Archive]] if you want to host your archive for others to access online
Read [[Troubleshooting]] if you encounter any problems